Fresh Strawberry Raspberry
Blueberry Pie Recipe
Homemade Triple/Three Berry Pie
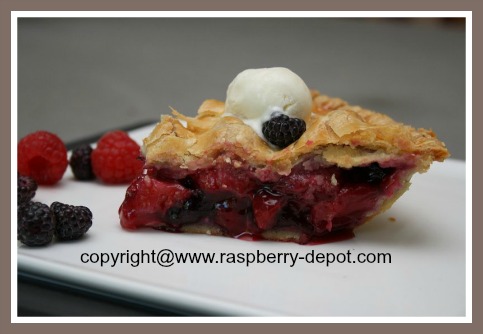
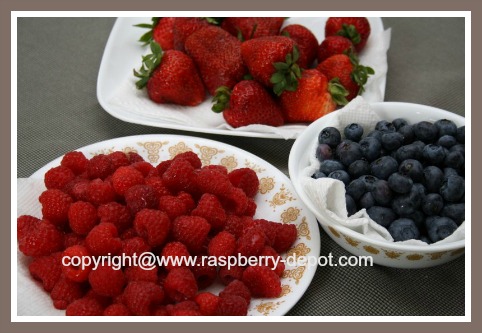
This scrumptious Fresh Strawberry Raspberry Blueberry Pie Recipe makes the very best homemade triple / three berry pie, and takes your taste buds for a ride!
*FTC Disclosure: As an Amazon Associate I earn from qualifying purchases with no extra cost to you
*FTC Disclosure: As an Amazon Associate I earn from qualifying
purchases with no extra cost to you
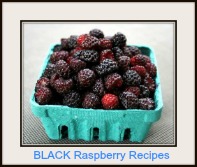
You can easily substitute black raspberries or blackberries in the place of other berries - be creative - mix up the berries to total 4 1/2 cups fresh berries!
I used two purchased ready-made pastry crusts for this recipe, making it the very easiest mixed berry pie ever!
I used one crust for the bottom, and the other crust for the top!
Berry quick, berry easy and berry DELICIOUS!
Ingredients
FOR THE PASTRY CRUST
pastry for a double crust 9" pie (homemade or purchased) I used a set of purchased pie crusts - one for the bottom and one for the top of the pie!
For Homemade Crust:
2 cups all purpose flour
1/2 tsp. salt
2/3 cup shortening, chilled
6 tbsp. cold water
FOR THE FRUIT FILLING
2 cups fresh, sliced strawberries
1 1/2 cups fresh raspberries
1 cup fresh blueberries
1/2 cup granulated sugar
1/4 cup cornstarch
1 tbsp. butter, cut into pieces
1 egg, lightly beaten
Directions
FOR THE PASTRY CRUST
In a bowl, combine the flour and the salt.
Using a pastry blender, cut in the shortening until the pieces resemble coarse meal with a few larger pieces.
Sprinkle 1 tbsp. of water over part of the mixture, then gently mix with a fork, repeat process adding a little more water at a time until all is moistened and pastry begins to cling together.
Divide the dough in half. Form each half into a disc shape, wrap in plastic wrap, and refrigerate for at least 30 minutes.
Remove dough from fridge and transfer it to a lightly floured surface.
Use a rolling pin and roll out the dough from the center to the edges to form a 12 inch disc.
Line the pie baking dish with the pastry, ease it into place and trim the crust evenly with the rim of the pie plate.
Roll out the remaining ball for the top crust.
FOR THE FRUIT FILLING
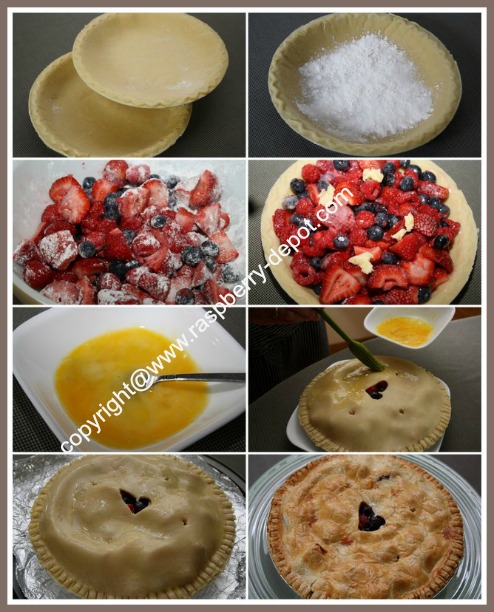
In a large bowl, whisk together the sugar and the cornstarch.
Place 1/4 of the above mixture into the bottom of the pie crust shell in the pie baking plate.
Add the strawberries, raspberries and the blueberries to the remaining cornstarch mixture and gently toss to coat the berries. Allow fruit to stand for about 15 minutes.
Transfer the berry filling into the pastry lined pie plate.
Brush the edges of the pastry with the beaten egg with a pastry brush or your fingers(!). This will help to seal the two crust together to keep the juices inside the pie.
Add the pieces of butter to the top of the fruit.
Place the top crust over the filling and trim the edges even with the rim of the pie plate.
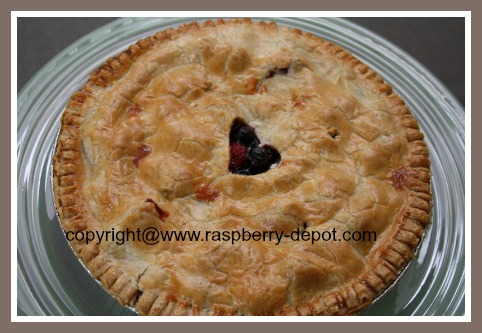
Cut a center "vent" hole and several small vents out of the top crust to allow steam to escape while baking.
Brush the entire top of the crust with the beaten egg.
If you are using store purchased crusts, I recommend placing the pie on a cooking baking tray before placing it in the oven for extra support and to catch any stray berry juice ;)
Bake at 375° F for about 45 minutes or until done, adding a pie crust protector shield after about 20 minutes of baking time.
Pie is ready to be removed from the oven when the juices have bubbled up and the crust is a golden brown.
Don't have a pie crust shield? No problem you can easily make one:
GO to Make a Pie Crust Shield
See Also: Beautiful Cake and Pastry Stands to Display your Pie Creation
TOP of Fresh Strawberry Raspberry Blueberry Pie
RETURN to More Raspberry Pie Recipes
HOME to Homepage
©2010-2025 Raspberry-depot.com - All Rights Reserved Worldwide
No Reproduction Permitted Without
the Express Written Consent of the Site Owner
Special Occasion Recipes
♥ Valentine Recipes ♥
Pancake Day Recipes
Easter Recipes
Mother's Day Recipes
Father's Day Recipes
Thanksgiving Recipes
Christmas Recipes
New Year's Eve Recipes

This Knife Sharpener
is one of the
Most USEFUL
Kitchen
Tools
that I have
EVER
Purchased
I've been using
the same
Knife Sharpener as
the One Below for
Well Over 10 Years!
⇩
